| Body work done on my Alfetta, over the course of the time I have owned it. | |
| Work done on Alfetta so far (2010) : | |
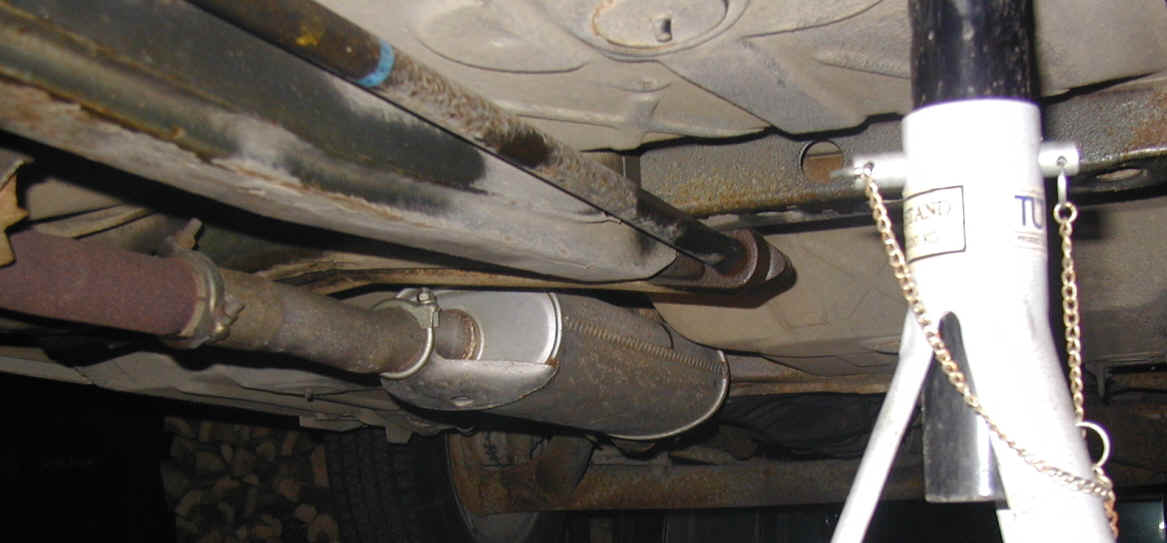
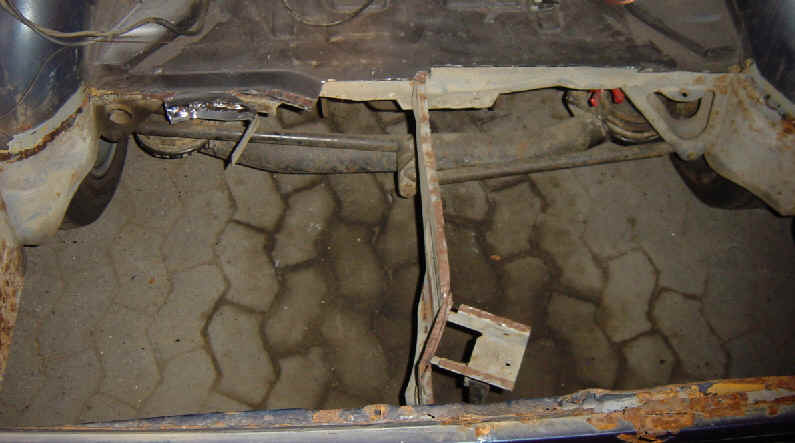
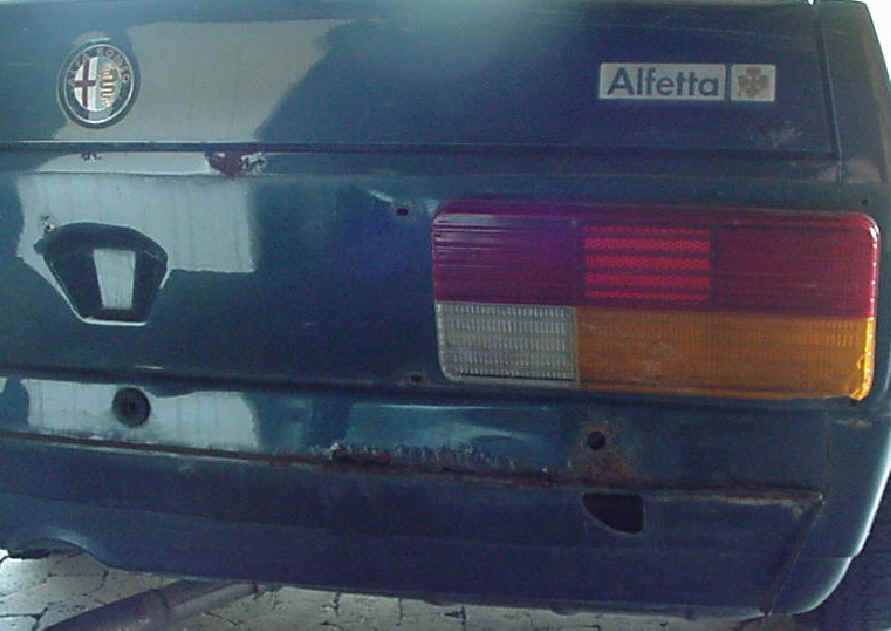
| The undercarriage as it looked when I got the car home in 2000, not too bad for a 16 - 17 year old Italian car. | |
|
|
|
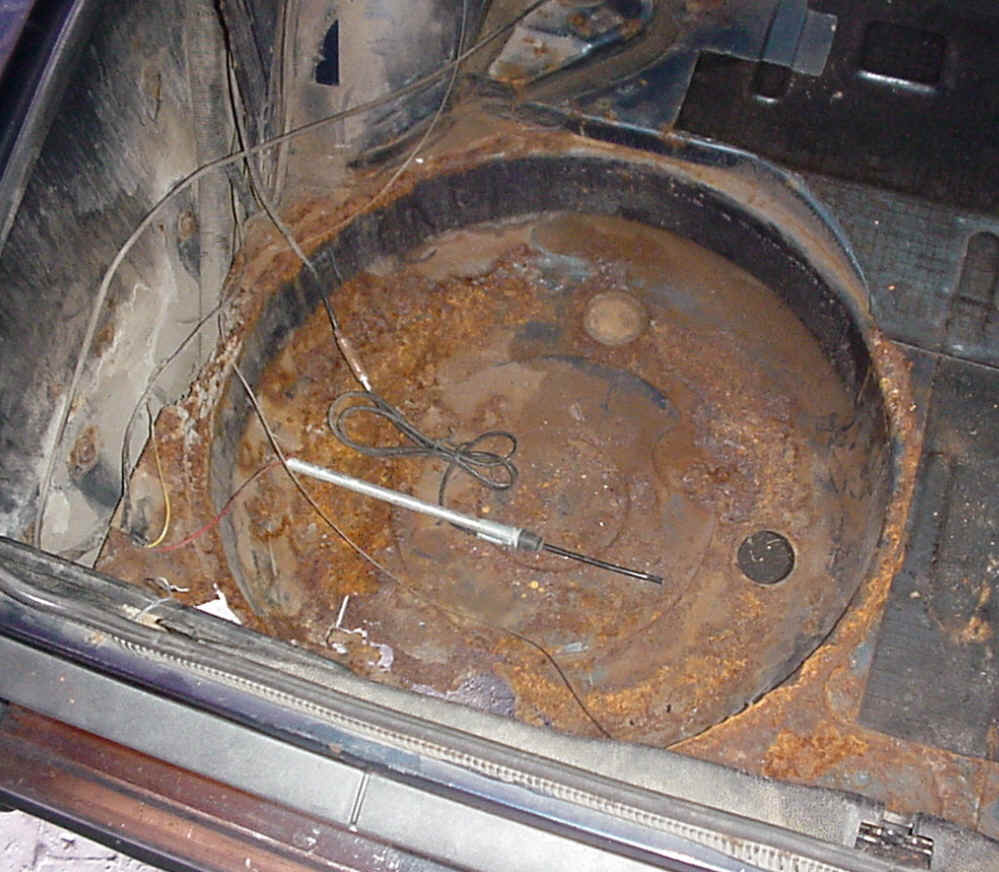
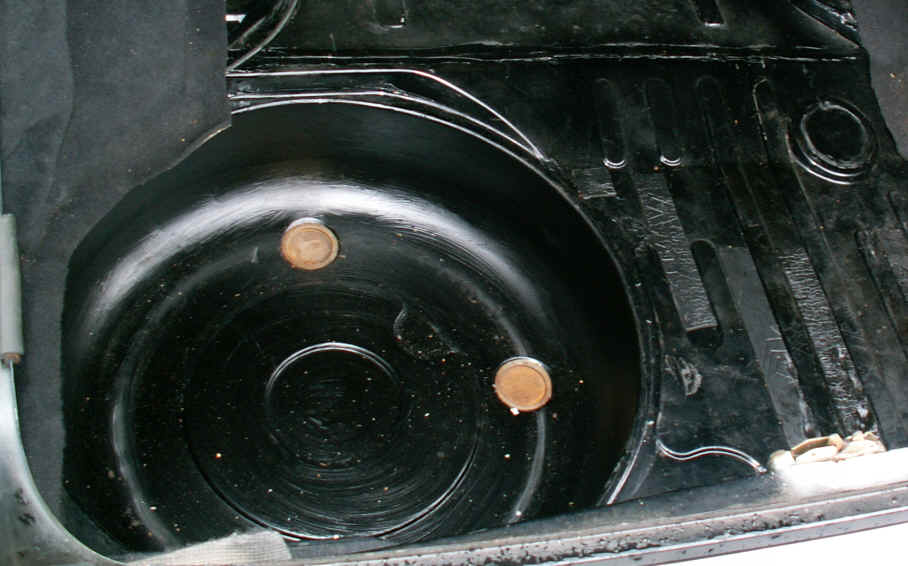
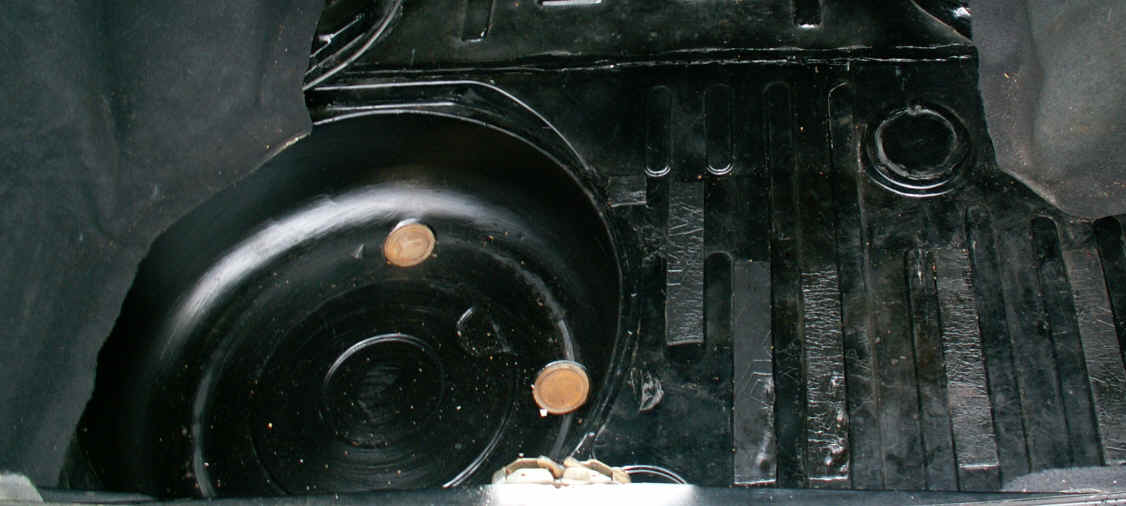
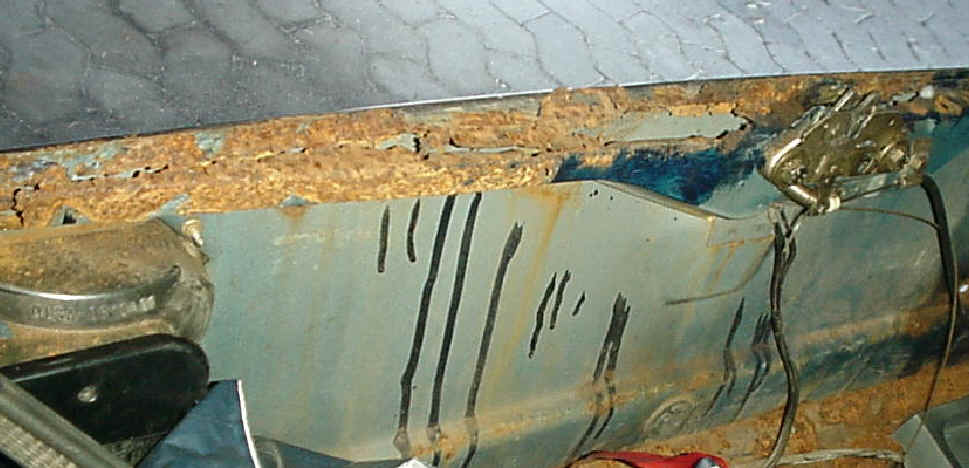
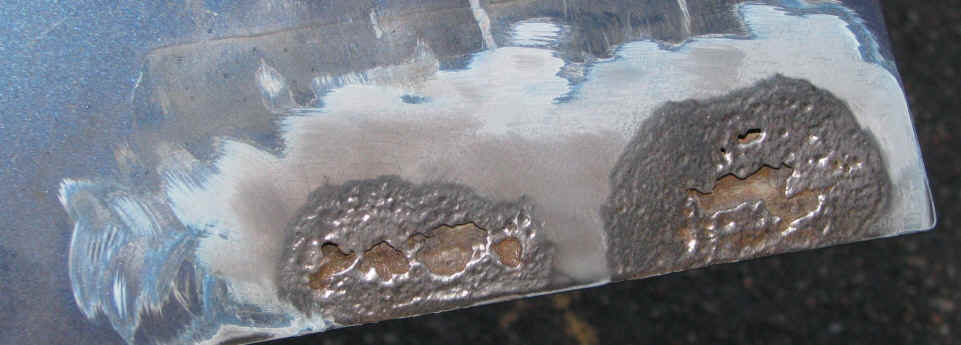
| Bottom part of trunk and Spare wheel well, "slightly" corroded with good ventilation (I've dropped a couple of things out of the trunk because of this...). | |
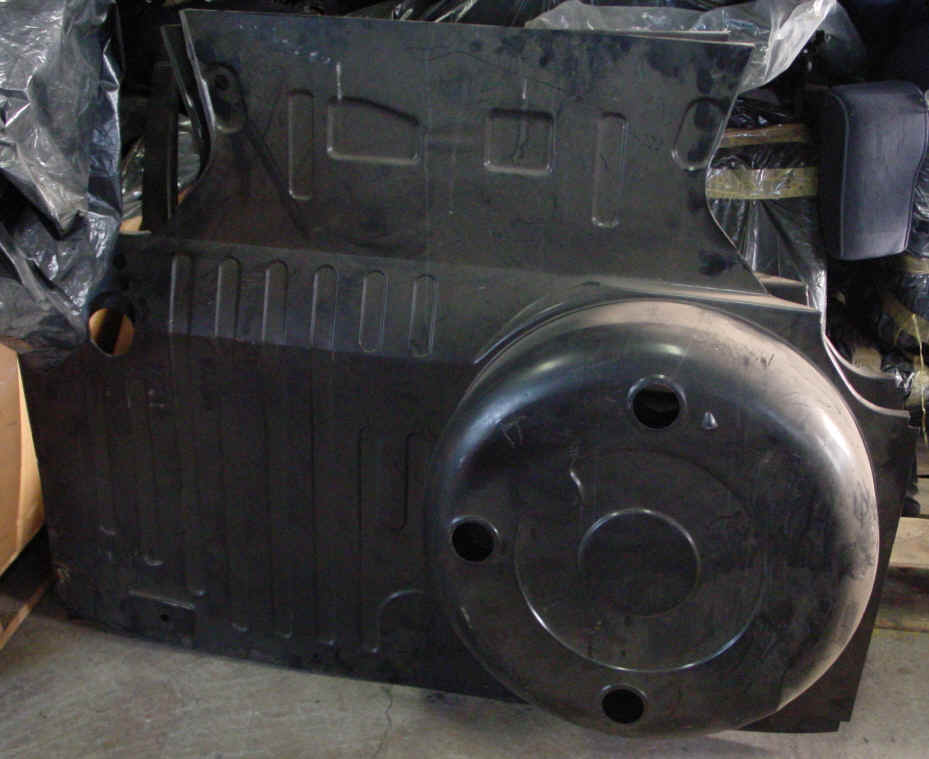
| Before | After (several days of grinding, welding and painting...) |
 |
 |
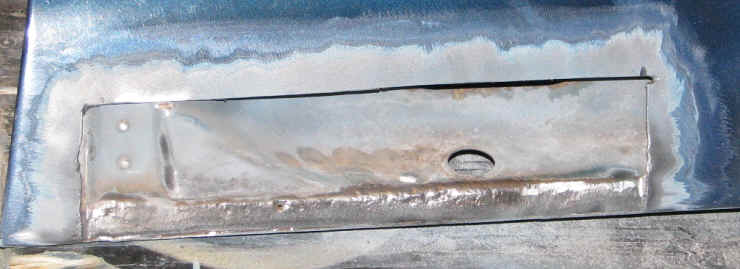
| Trunk and spare wheel well, as well as the supporting pieces, has been cut out and replaced. I was lucky to get hold of a brand new trunk bottom plate, for very little money from a Alfa 75 TS. This part almost fits (misses approx 1 cm in length, Do'h). So I had to extend the trunk bottom all the way side to side. All remains of the old bottom plate has been carefully cleaned away, the new trunk was prepared for welding and inserted. Quite a decent job. | |
 |
 |
| I was not able to get hold of a new supporting piece, so I had to manufacture one myself (luckily it isn't visible from the outside...). | |
 |
|
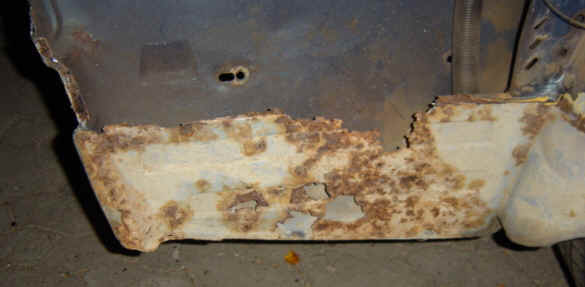
| The rear part supporting the
rear lights as well as the license plate, I was lucky enough, to get hold of the
original part from the same guy (from Norway) who sold me the trunk bottom. Unfortunately I have not been able to locate the lower rear panel. I have cleaned it up as much as I possibly could and reused it. |
|
| I'm afraid it's a matter of time before it will start to corrode on me again. | |
 |
The
entire part supporting the two rear lights and the trunk lock mechanism
has been replaced and painted. It was as good as gone when I got
the car. (Maybe some Sicilian Mafioso have ended his days in my trunk ???). Both cables operating the trunk lid mechanism has been replaced. The original nylon back-up cable has been replaced by a stainless steel cable. See DYI tip |
 |
|
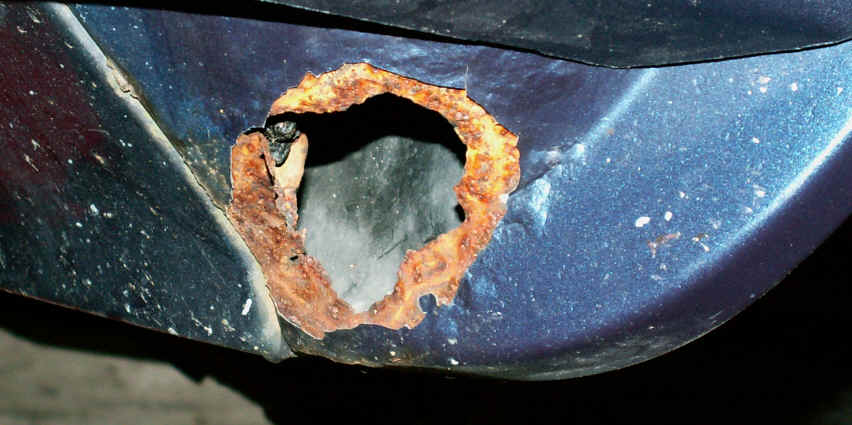
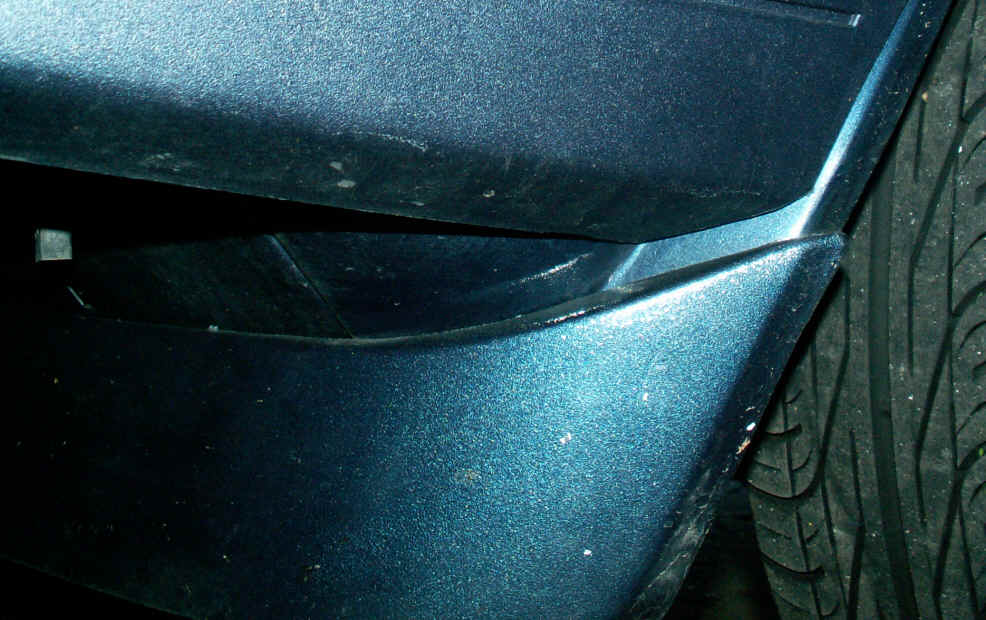
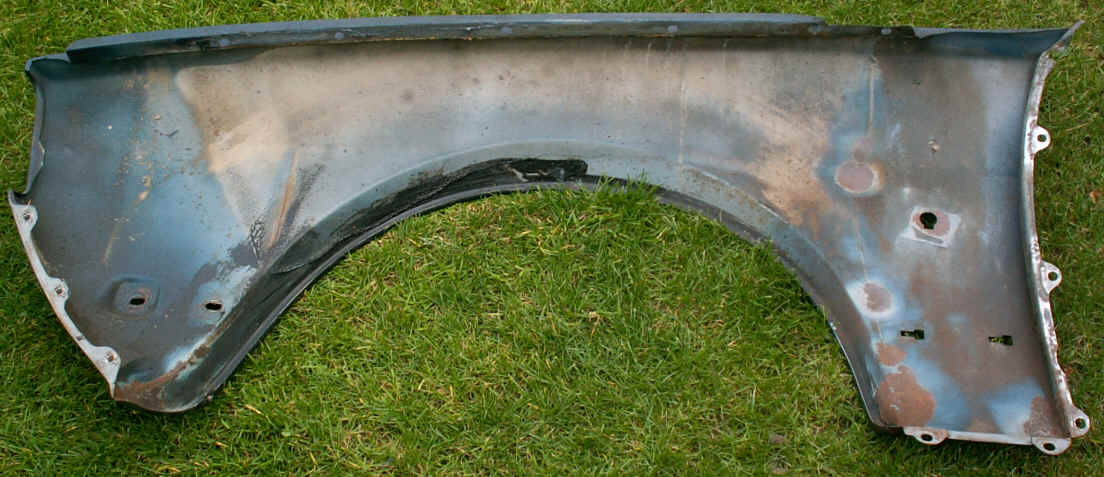
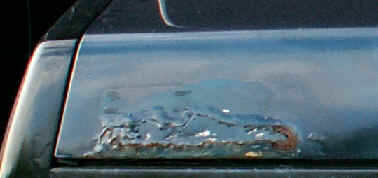
| I have repaired a hole in the lower left front wing (below the front bumper) | |
| Before: |
After: (with original front spoiler mounted, and the front painted in the original color). |
 |
 |
| Inside of right front wing, before hammering out the dent at the front head light, and repainting. There was some surface rust at the exposed areas, but nothing critical. | Inner front wing, after having been repainted and painted with body sealer. I only found very light surface rust. I have added plastic protection on the inside. |
 |
 |
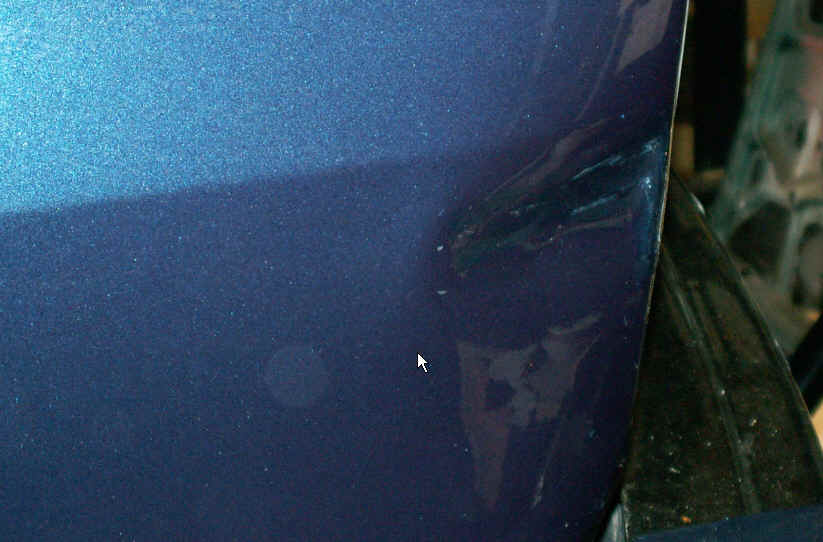
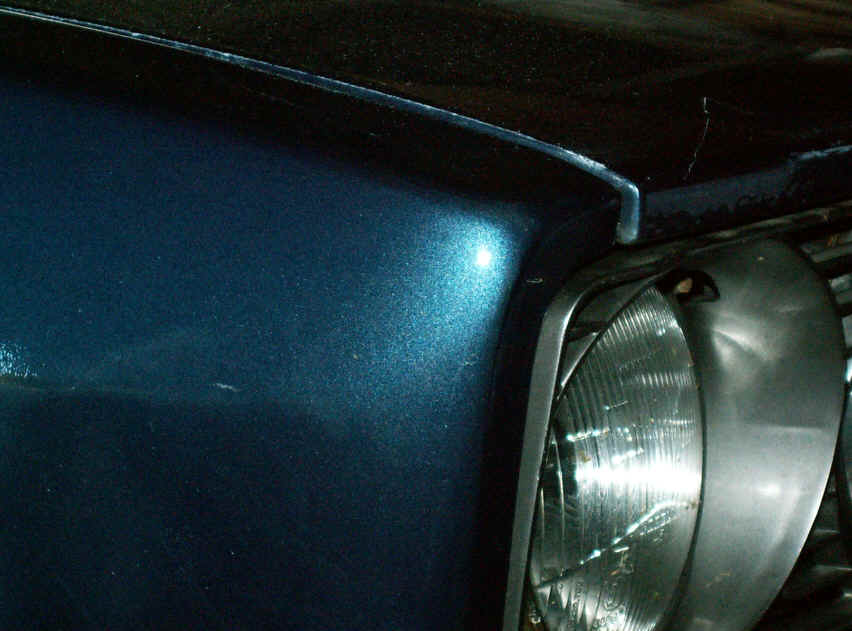
| I have repaired the small dent in the upper right front wing next to the headlight (shown above). It was heated up using my gas burner, then using a rubber hammer on the metal having a bag of sand behind, The rest was smoothed out with filler and painted accordingly.. | |
| Before | After |
 |
 |
| A lot of this work required the use of a CO2 welding machine, which meant that I "unfortunately" needed to expand my collection of tools (I can always find a good excuse to buy some new tools (and guess what. I don't tell it to my wife, just like she doesn't tell me the cost of her latest visit to the hairdresser or clothing outlet...) | |
|
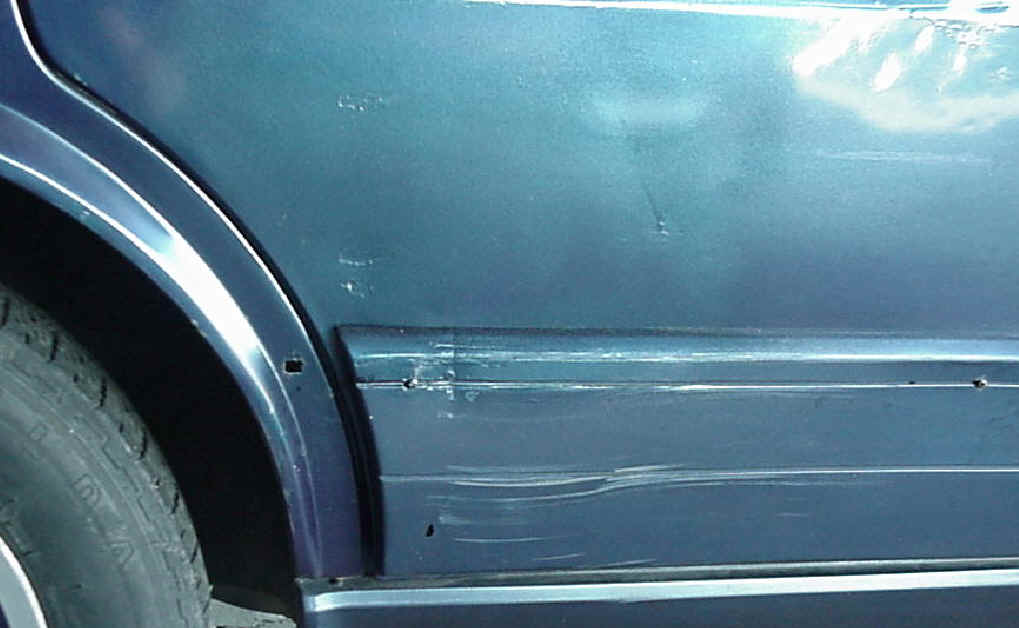
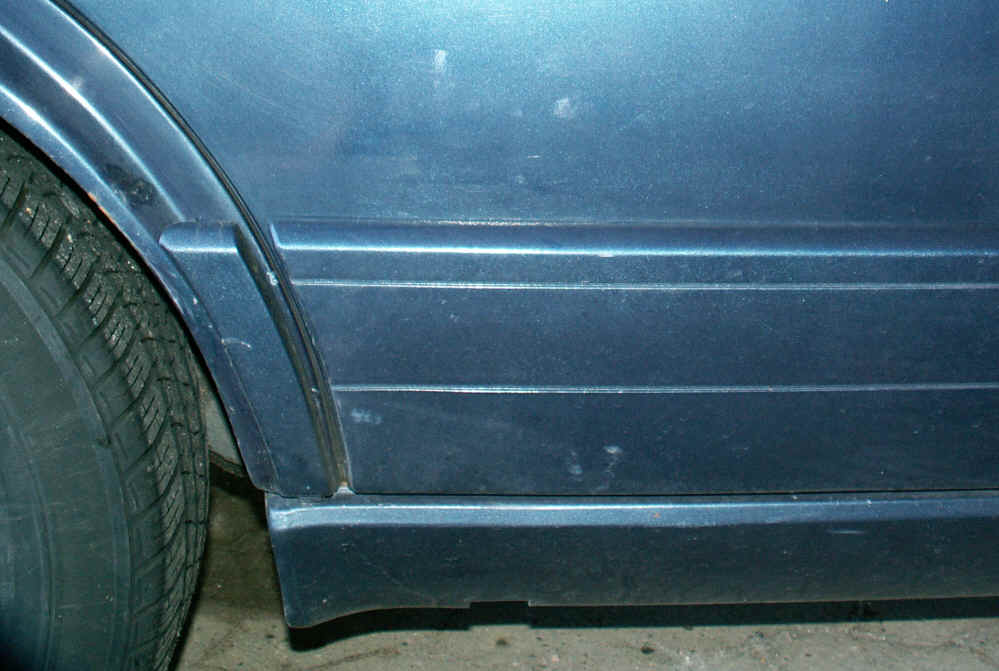
I have fixed a large, but
flat dent in the right rear passenger door, and painted the door. The missing
plastic panel was found in Norway as well as the plastic panel covering
the lower part of the door. The dent was partly fixed using a rubber
hammer, filler and my home made sanders. |
|
 |
 |
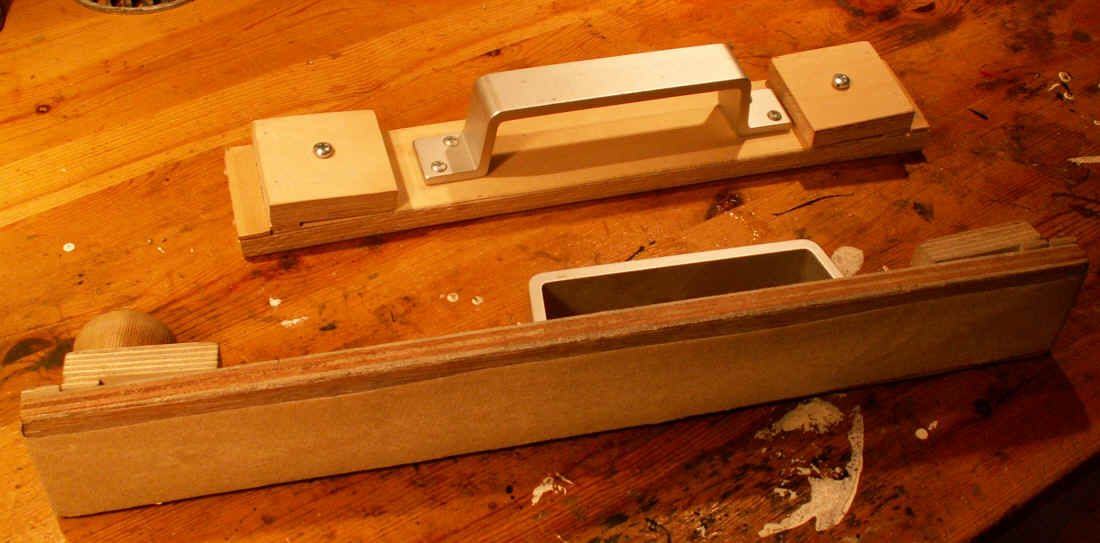
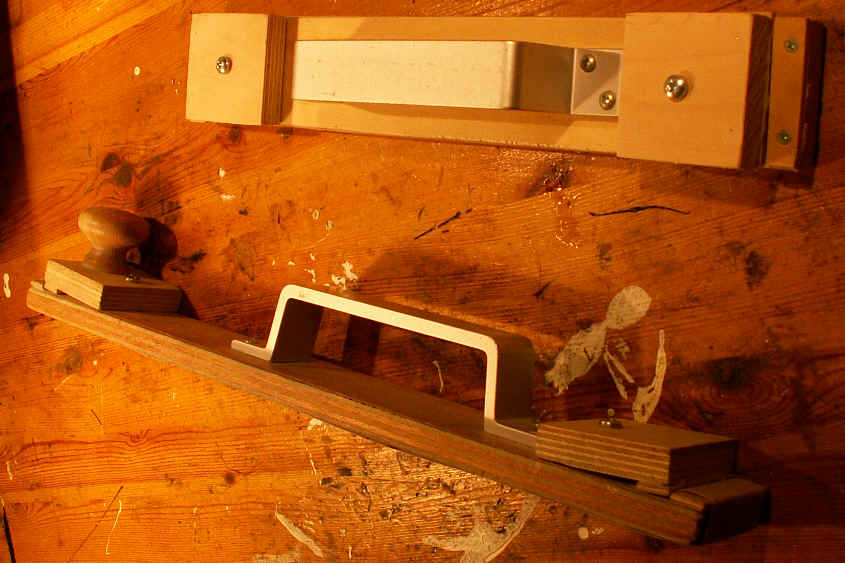
| The dent in the door was partly fixed using a rubber hammer, filler and my home made sanders. These are indispensable when doing any sanding on the body of your car. You need a good amount of length on the sander otherwise you will not be able to a proper job, and end up with "waves" and "flutter". | |
 |
 |
| All parts has been painted in open air by myself using a decent air powered paint gun... The result is definitely OK for a rookie like me !!! I hope to find a prop painter who will give my car a fresh layer of paint sometime... | |
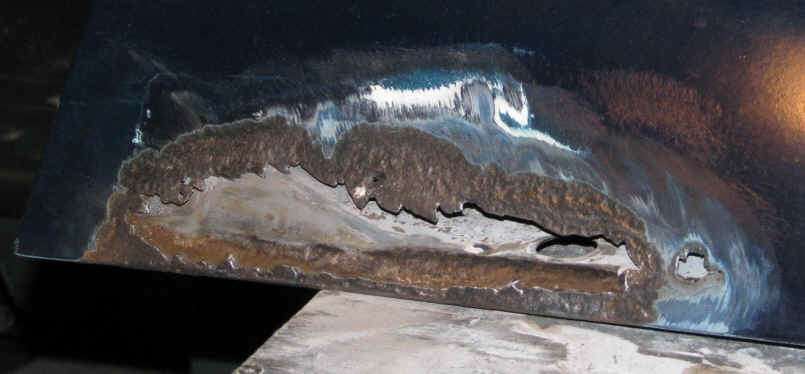
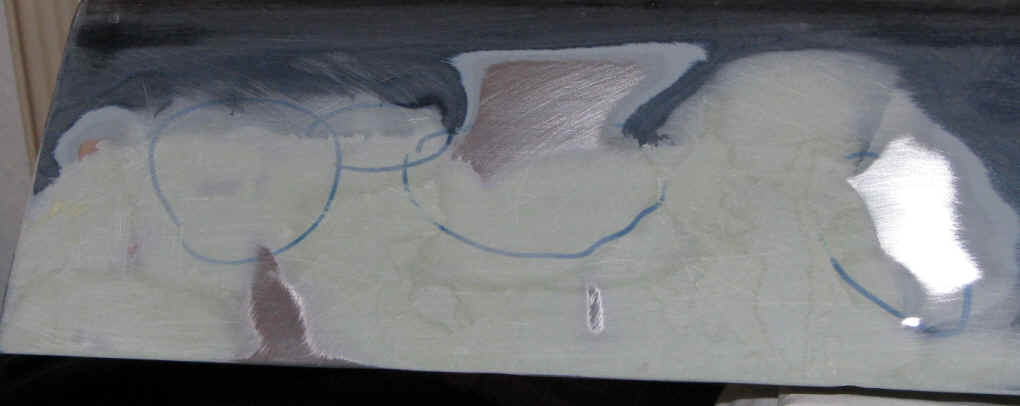
| Trunk lid was pretty bad corroded in both sides. | |
 |
 |
| This is what it looked like when all the paint and loose rust is removed. | |
 |
 |
| Nice big chunk has been cut away | |
 |
|
| After welding, filling and sanding, filling and sanding, filling and sanding, fill... And it's almost ready for a new paint job! | |
 |
 |
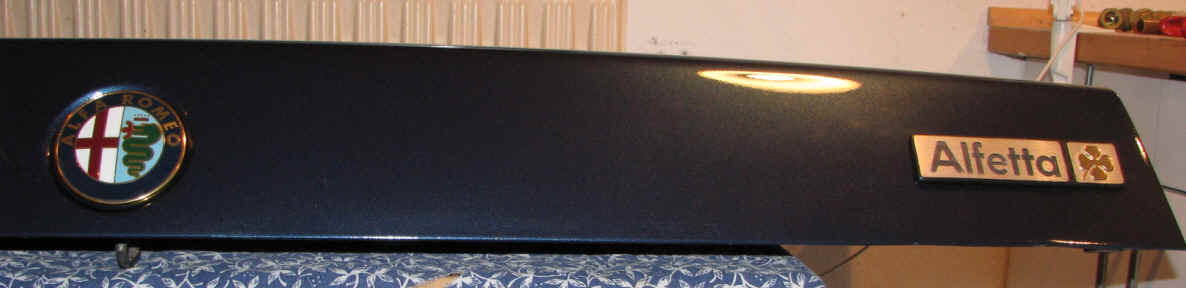
| Paint job complete (2 x primer, 2 x blue metallic, and 1 x clear coat), and logo's fitted on their proper position. | |
|
|
|
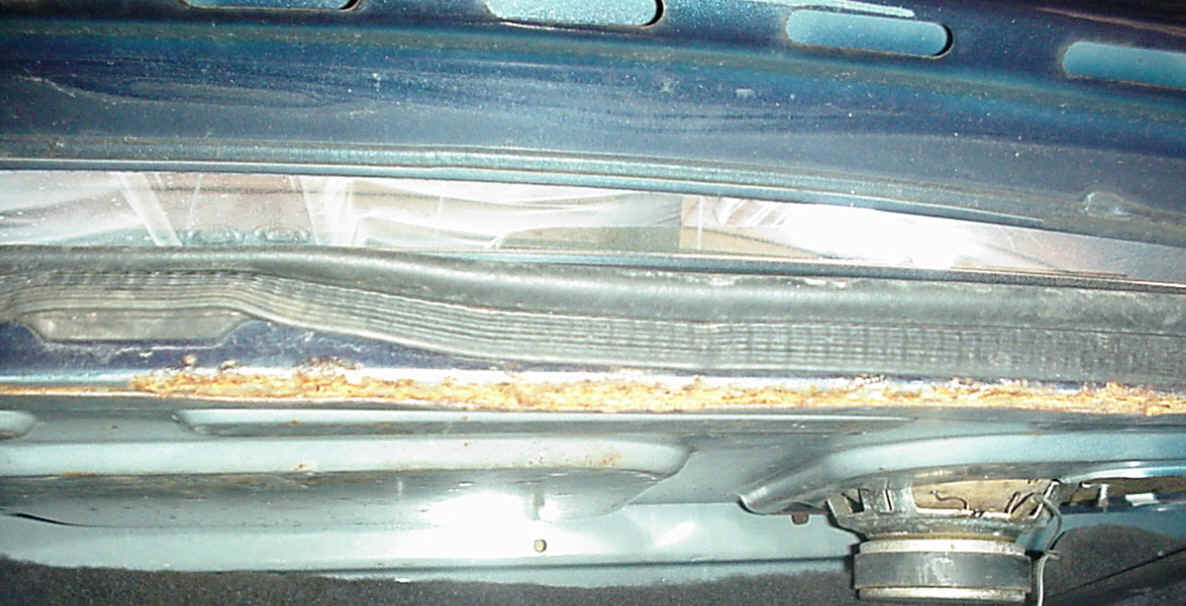
| The channel for draining rainwater safely away from the trunk is also heavily corroded, and needs some TLC. I hope to be able to do it this next year (2011), together with the two holes behind the C-columns. | The area on the back of the car where the C-columns is entering the rear part of the car is also in a very bad shape. This means that I will have to take out the rear window (I don't like that, and will seek professional help). I think the car has been corroded in these two areas for a long time, and that the previous owner has unsuccessfully tried to fix it. |
 |
|
| Home to Repair main page | |